 Ahh, Apple Pie. Classic, simple and yet elusive for many. It all depends on what kind of apple pie you like that determines if this is the “best ever” apple pie. I see recipes all the time with wild claims of being the “best apple pie ever” but then I read the recipe and think, hmm, I don’t like a crumb topping or whatever variation the author determines is the “best apple pie ever”.
I tend to think that it has more to do with what you grew up with that determines a person’s favorite. This is a pie reminiscent of my mother’s apple pie, so there you go! I would “help” when she made pie. By the time I was done with my crust, it was so over handled, my mom would switch out some of hers for mine without me knowing about it, I later learned.
I went to a pastry class and learned a technique for the crust I have strayed from and come back, strayed from and come back again. It takes more time and has messier clean up, but it has far superior results in the level of flakiness and oh ya, it reminds me of making pie with my mother, so….smiles all around.
For the pie crust:
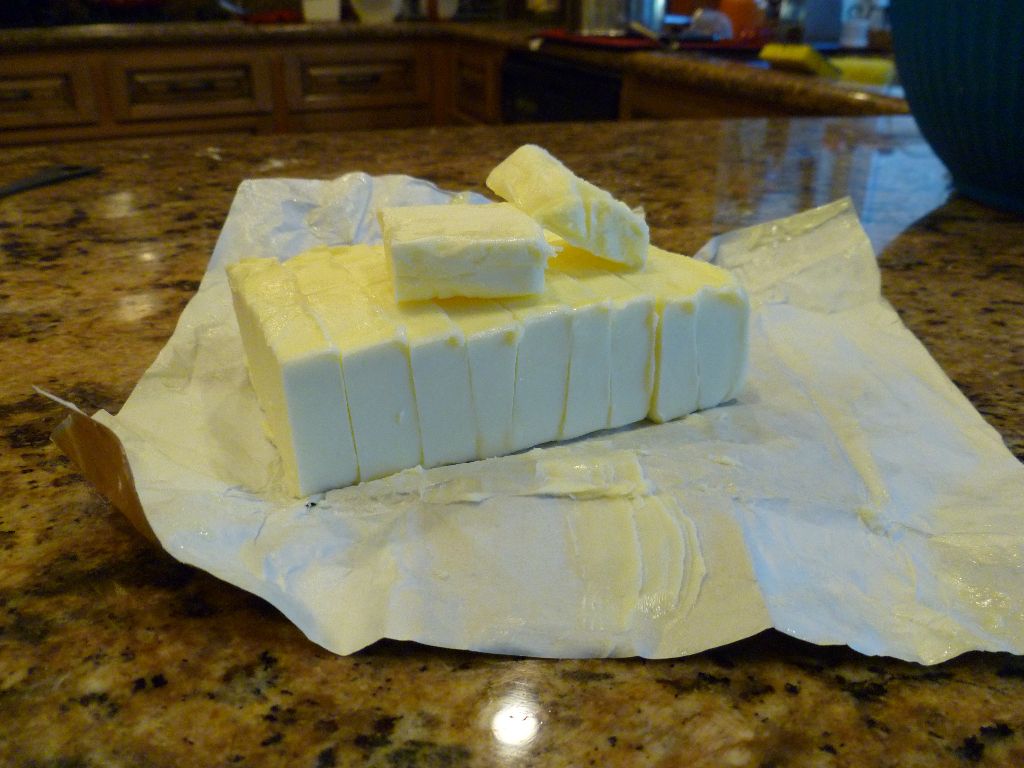
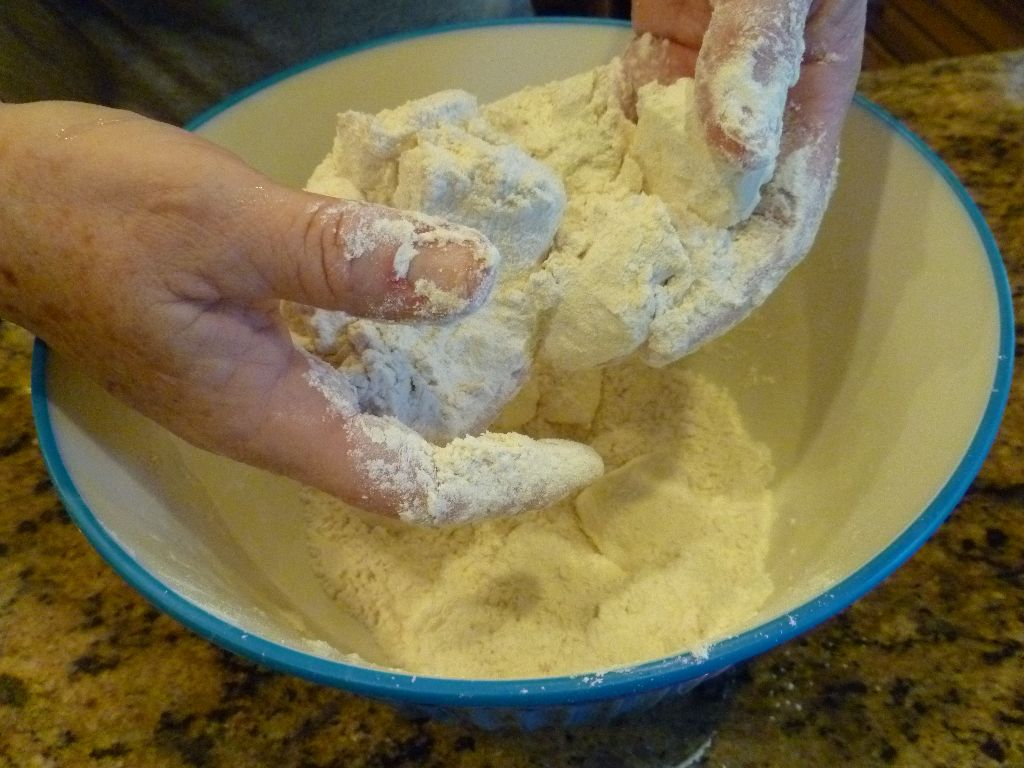
In a large bowl blend the flour, sugar, and salt. Cut the butter into 1/2 inch slices and toss in the flour until coated.
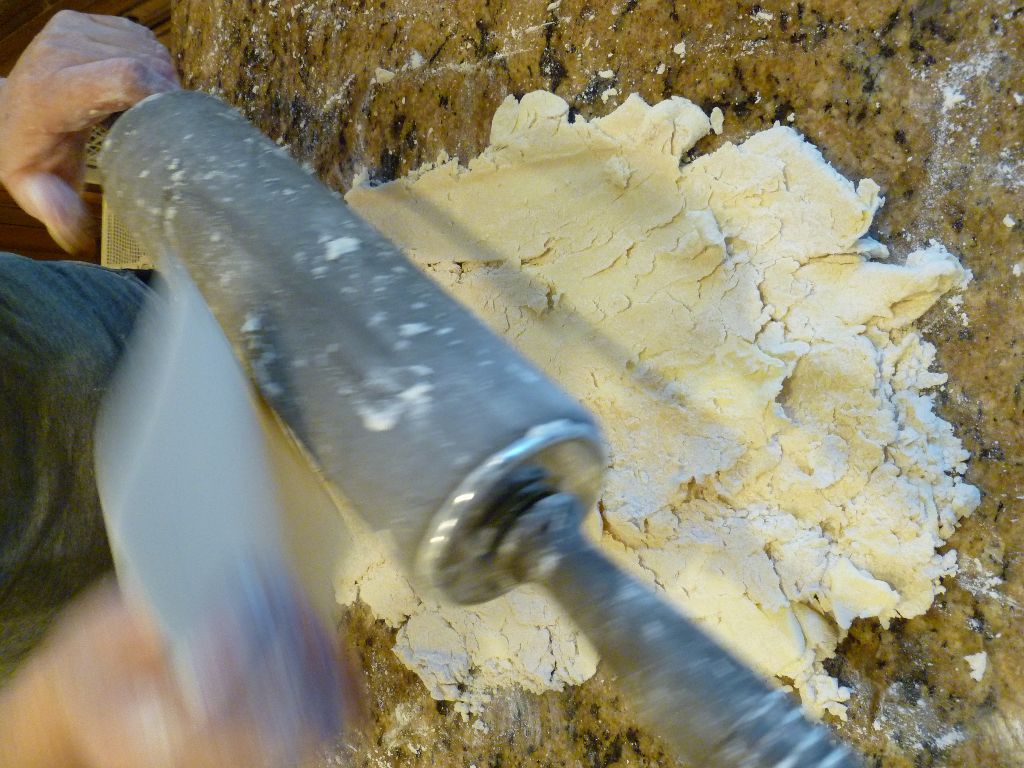
Turn out on a work surface and using the rolling pin, press down on the flour and butter mixture and roll away from you, creating long flat flakes of butter.
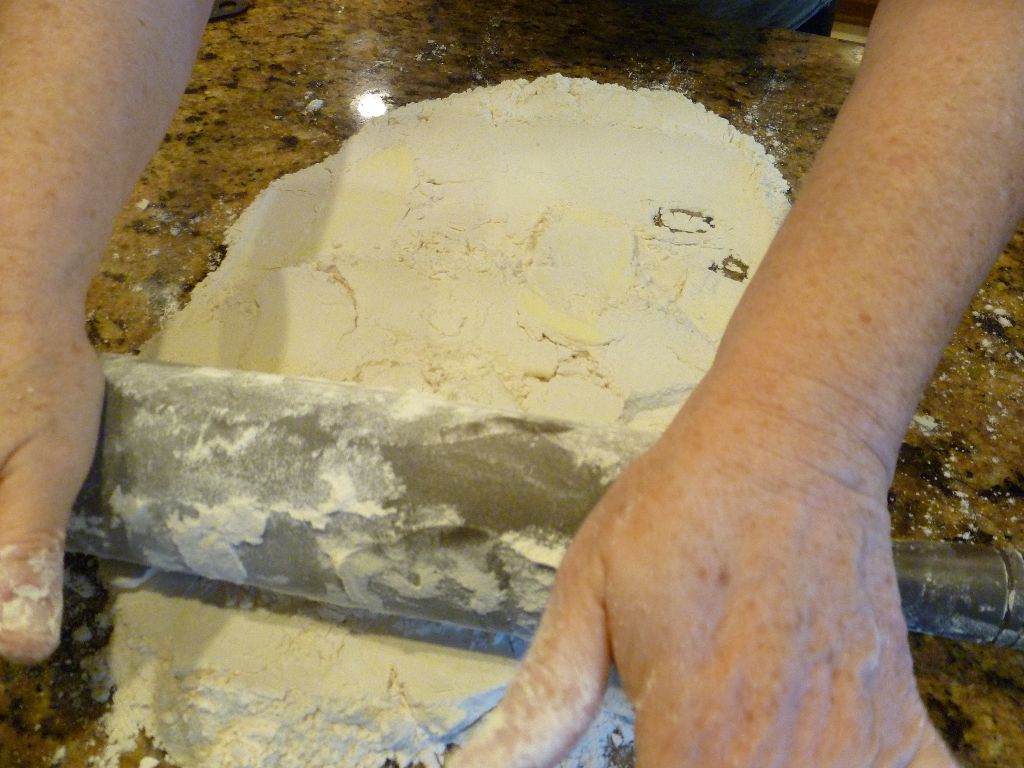
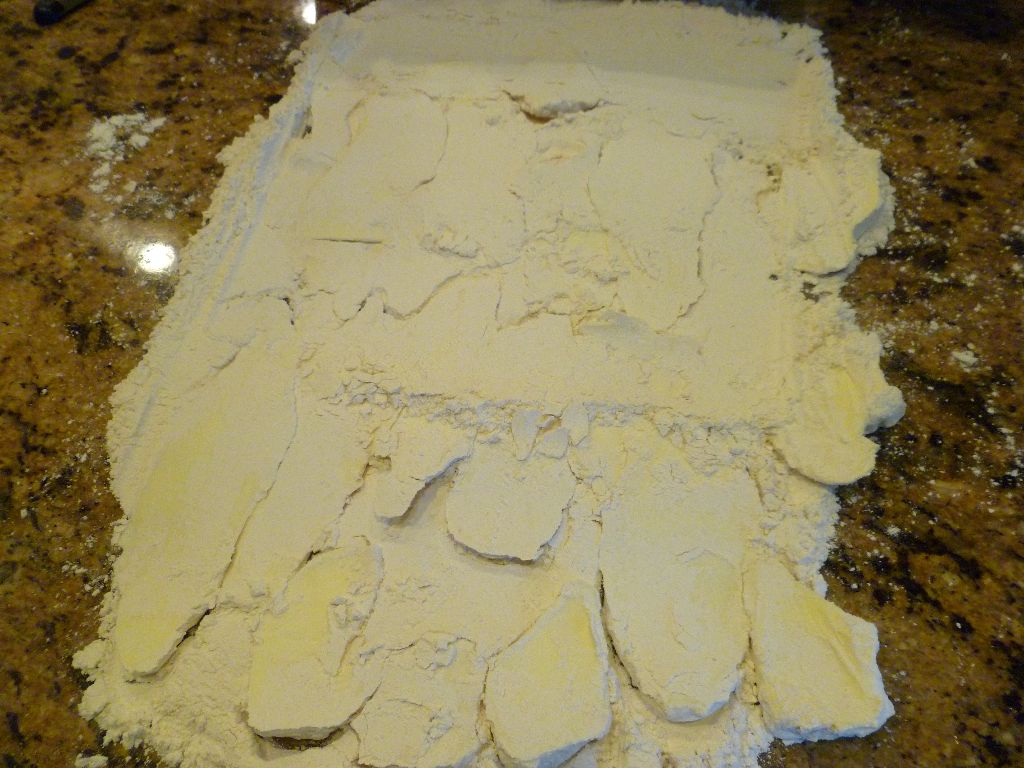
Stop when needed to prevent from sticking, gently lifting the flour and the butter with a bench scraper to prevent it from sticking to the surface. Sprinkle flour on the rolling pin as needed to keep the butter from sticking to the rolling pin.
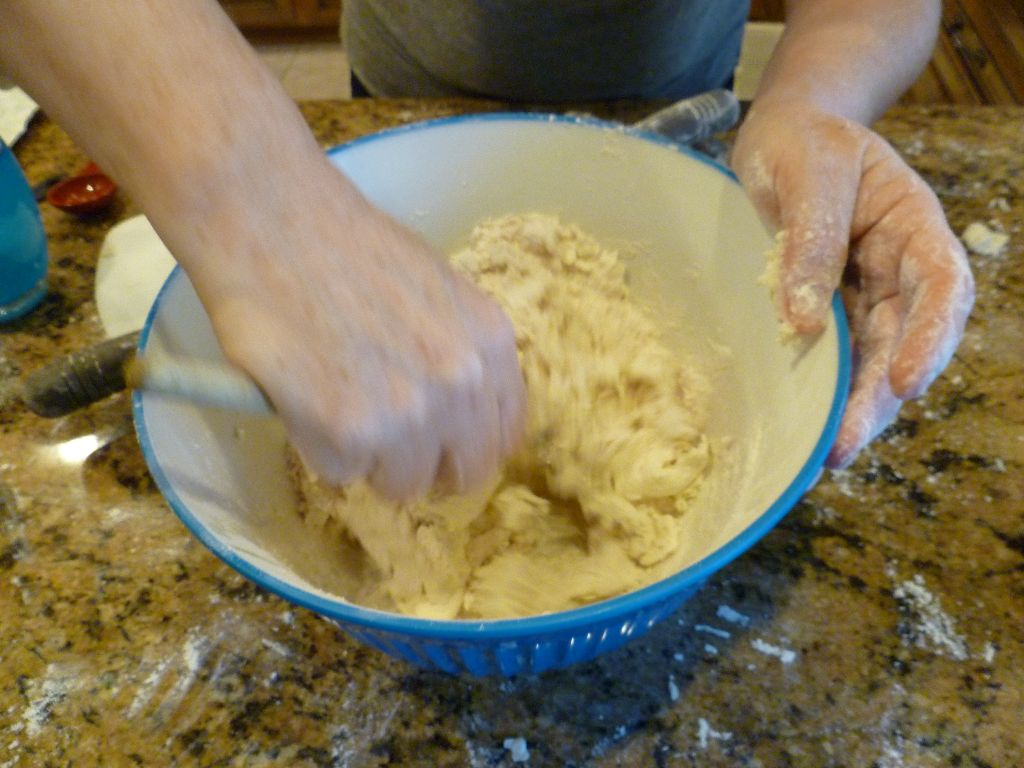
Once the long flakes of butter have formed, scrape the butter/flour mixture into the bowl, add the water by sprinkling one tablespoon at a time over the mix and blend with a large rubber spatula or a large kitchen spoon until the flour absorbs the water. With your hands, press the dough together.
Then turn out at once to the work table again. Dust the dough and the rolling pin with flour and roll the dough into a rectangle. The dough will look loose. Keep scraping the dough with the dough scraper and rolling from the center out until it holds together. Lift the dough with the dough scraper and sprinkle flour underneath to keep it from sticking. Working quickly so the dough keeps cold.
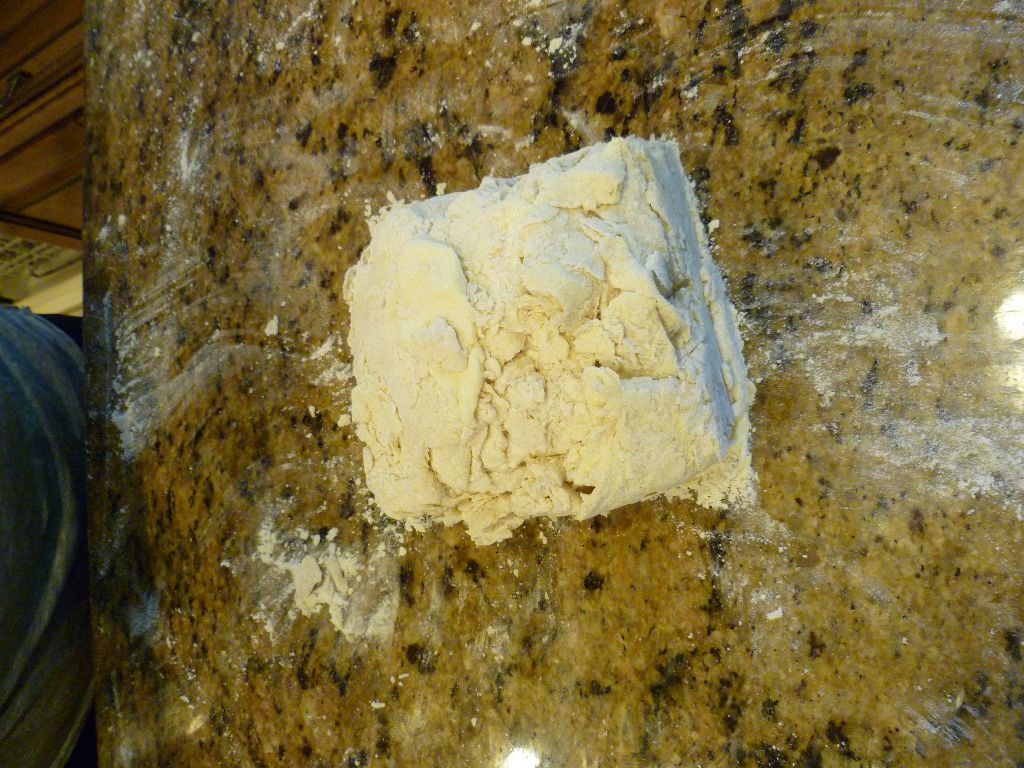 Fold the dough to make it a rectangle. You do not want to over work the dough. You can at any time scoop it up with the bench scraper, put it on a piece of parchment or wax paper and put in the fridge if you think it is starting to warm. In fact when we were in Greece last summer, (we visit family every 2 years), I wanted to make a Cherry Pie because the fresh cherries were so good. It is hot and humid in the summer in Greece and there is no air conditioning in the kitchen. I thought I was little crazy at the time because of the weather, but darn it, I wanted pie! So in an attempt to keep the dough flaky, I put the dough in the refrigerator at least 5 times during the process and it turned out to be one of the flakiest pie crusts I ever made. Since then, the weather will not deter me.
Divide the dough into 2 pieces and wrap tightly in plastic wrap.
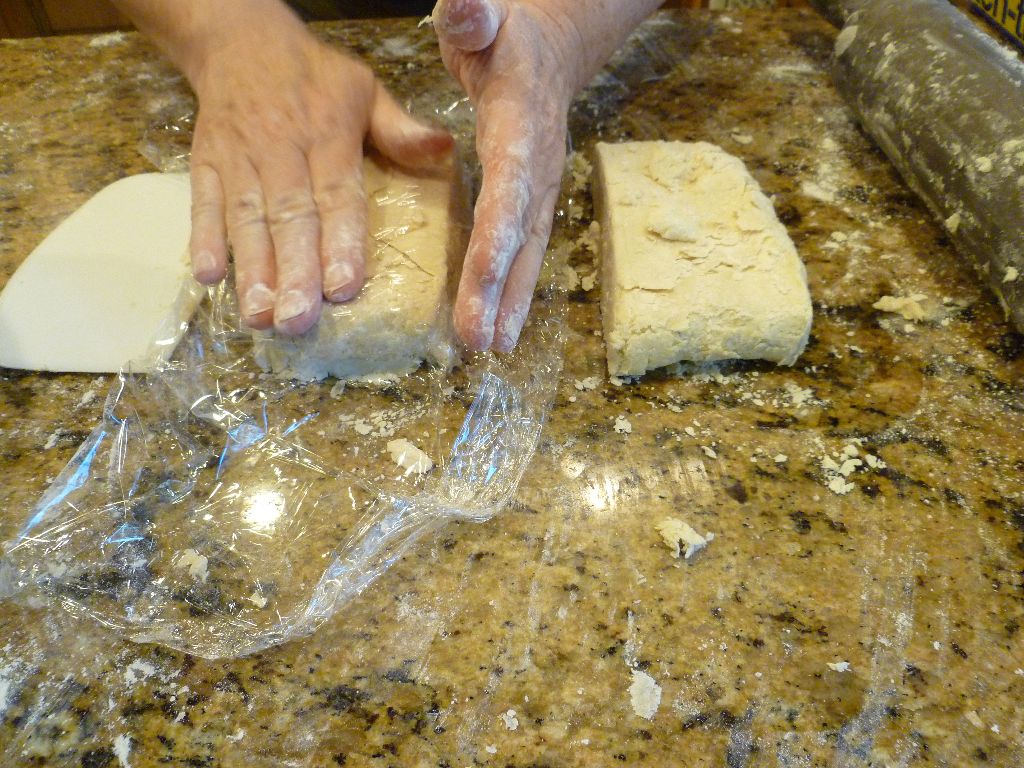
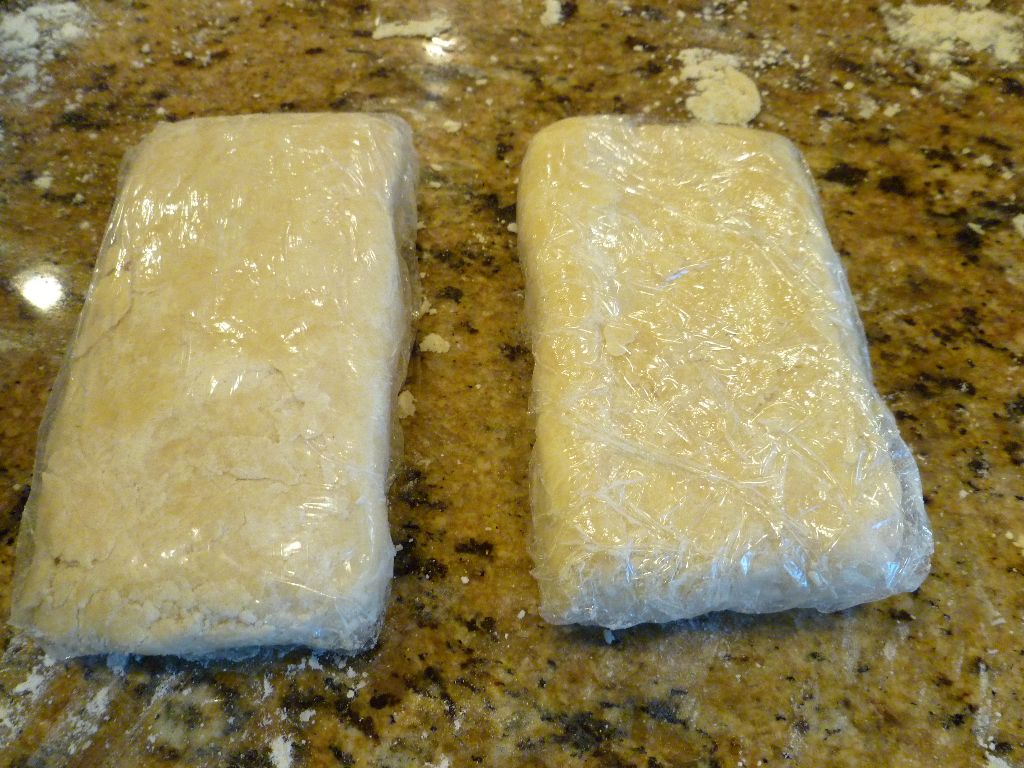 Cover and chill while you make the filling. It should rest for at least an hour and will keep for 2-3 days in the fridge.
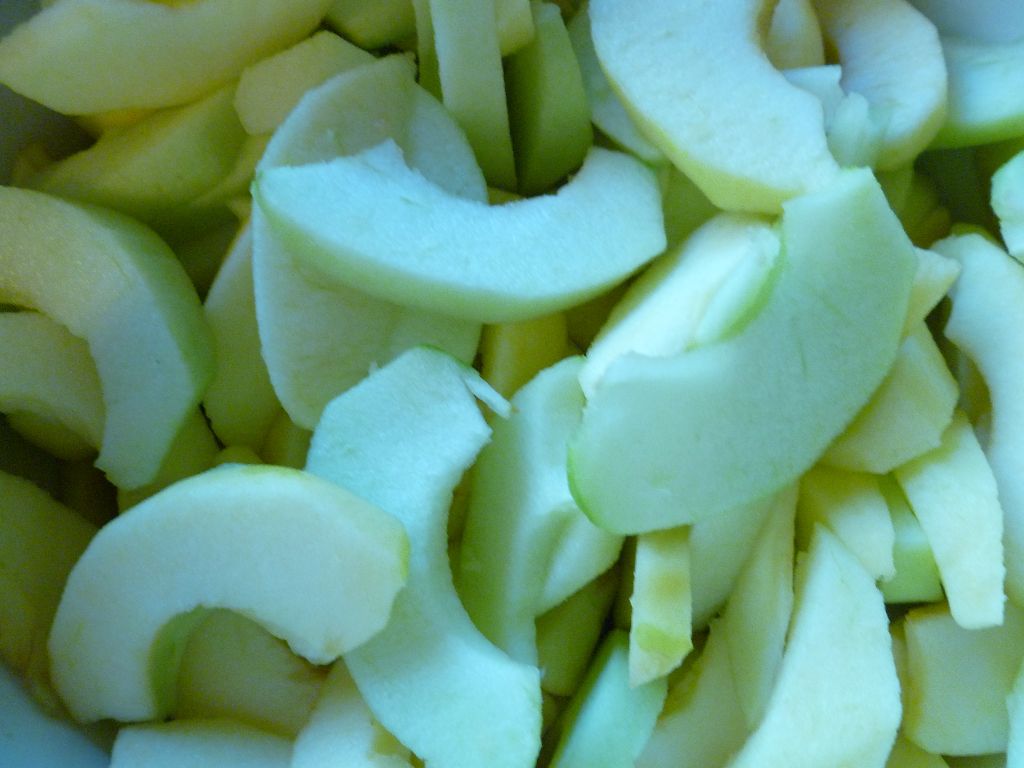
To make the filling, peel, core and slice the apples into a bowl. Whisk together the sugar, tapioca flour, allspice in small bowl then add to the apples while the dough is chilling. Mix with hands to combine. I will usually eat a slice at this point for qc (quality control) purposes, ha!

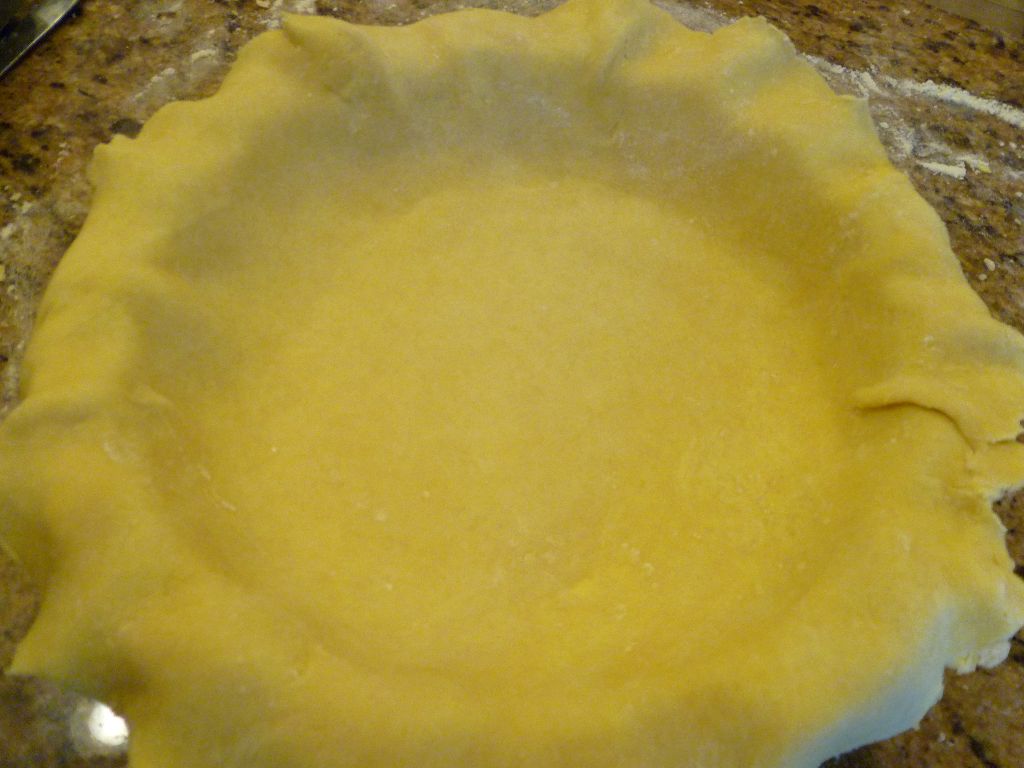
Next, remove both crusts from the fridge (unless your kitchen is warm, then only take out one). Dust your work surface with flour begin to roll your first pie crust from the middle out (one direction). Turn and roll, turn and roll throwing a dash of flour onto the rolling pin and surface as needed to keep the rolling pin from sticking. Once your circle is large enough to fit the pie plate (with a 1/2 inch overhang), carefully lift into the plate. There are a couple ways to do this: using your bench scraper, lift one end of the crust over the rolling pin to get it started and then roll the pin backwards so you can unroll it onto the pie plate, or if you have been quick and the crust is still cold, it should be easy enough to simply fold in half and lift place onto the pie plate.
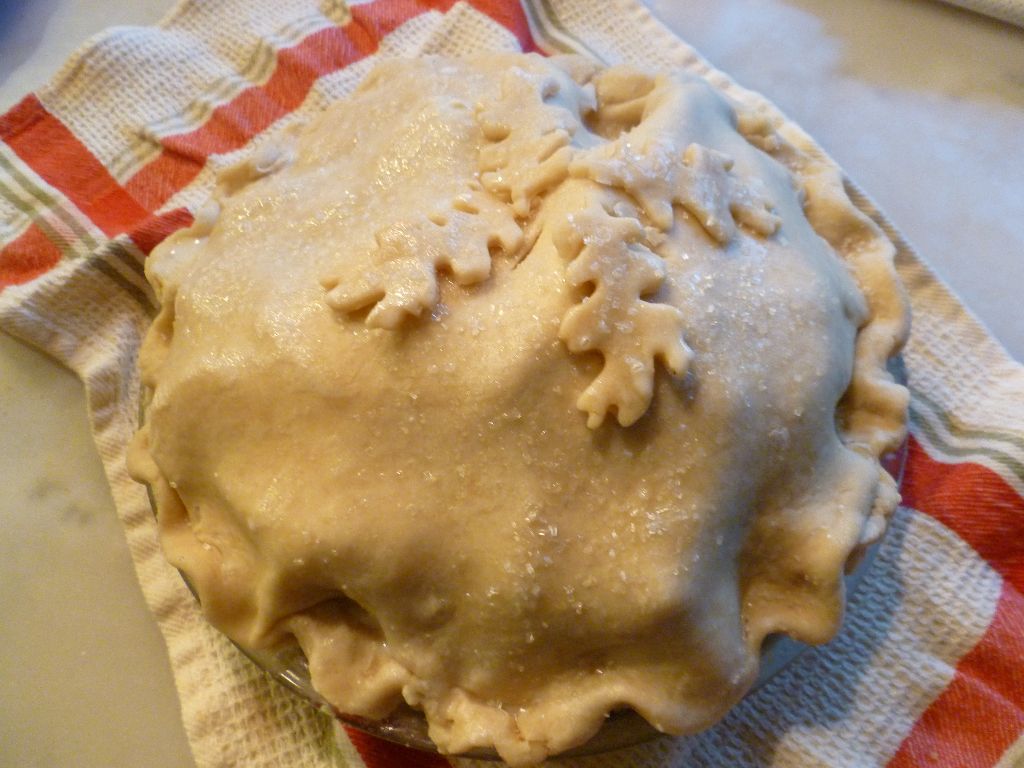
At this point, I will usually put the pie plate into the fridge to chill while I roll the top crust. Once your top crust is rolled, you can use a cookie cutter to cut (but not remove) a design if you like to create a steam vent. Sometimes I do stars or leaves or apples. Just one press to create a steam vent in a cute shape. If it separates completely, that’s fine, you can always pop that piece back on after you cover the apples with the crust.
Take the pie plate out of the fridge and fill with the apples.
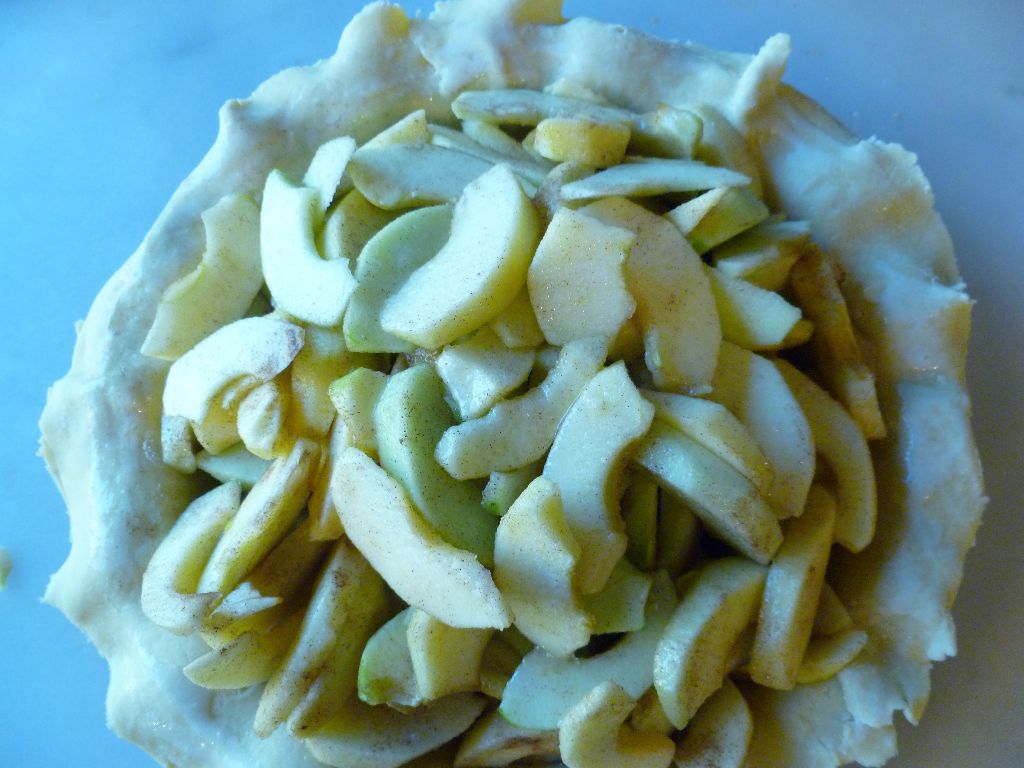
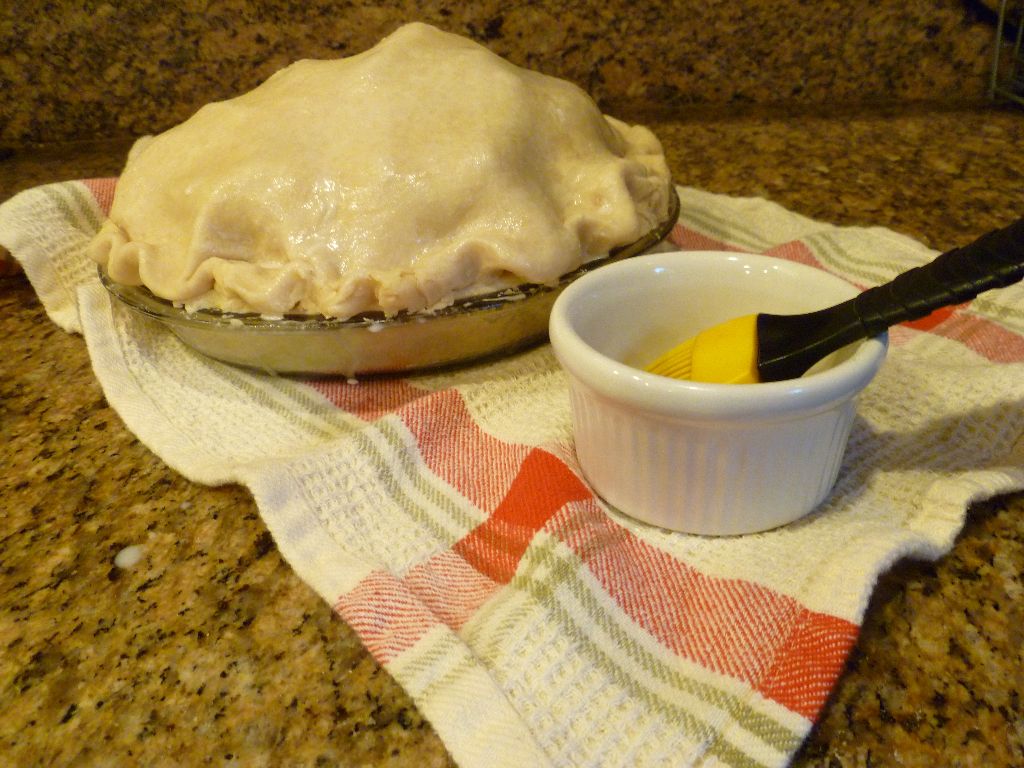
Now, I really do not like to clean, so to this end I will tell you that I will whisk up an egg white with a table spoon or so of cream to brush on the crust portion that is on the rim of the pie plate because it binds the two crusts together and creates a lovely seal that keeps the juices from coming out of my fabulous pie and creating an unwelcome chore in my oven.
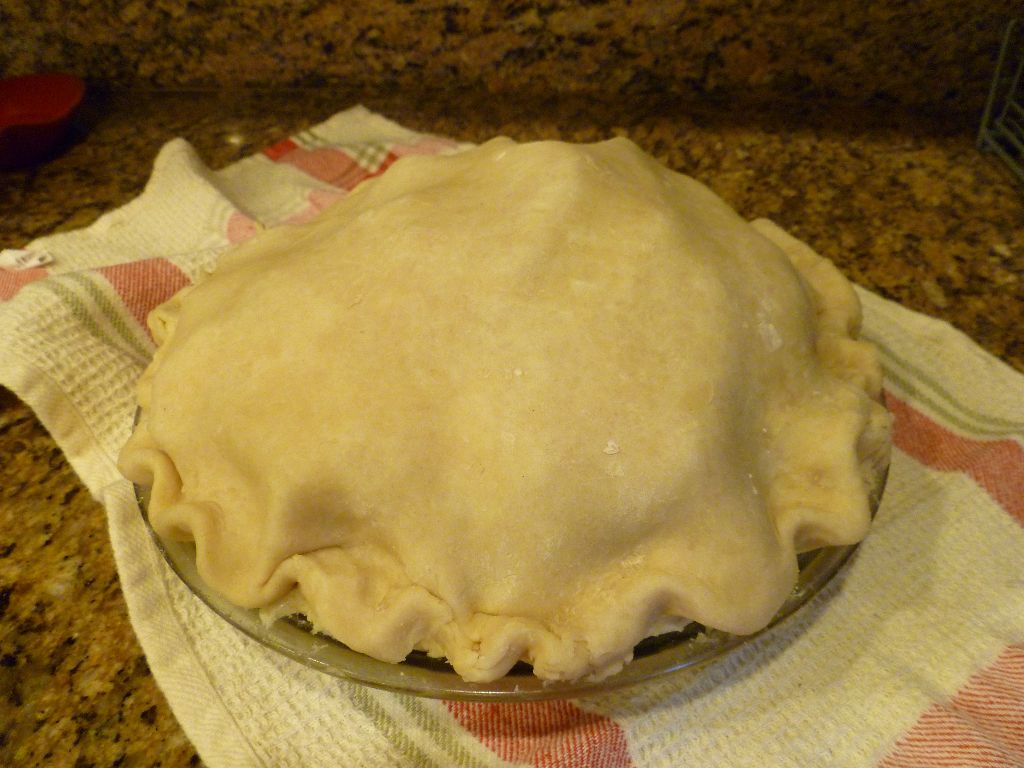
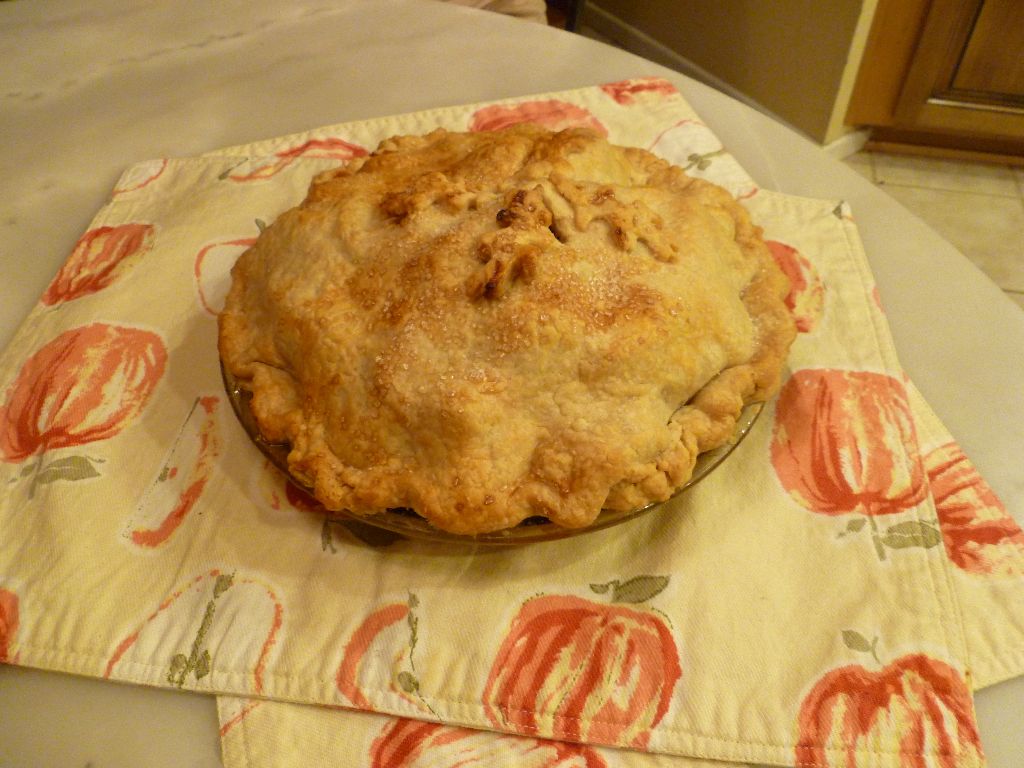
Cover the apples with the top crust as evenly as possible. Before crimping the pie crusts together I press them together and fold the overhang up and under and bring it up so it rests on the pie plate rim. I like my crust and I don’t want to waste any of it. If you don’t like a thick crust on the rim, you can always cut off the overhang and use a cookie cutter to make some cute decorations for the top with the extra dough. Crimp the crust in any way you like. Brush the whole pie with the remaining egg/cream wash and I like to sprinkle with coarse sugar and then put in the oven on the middle rack.
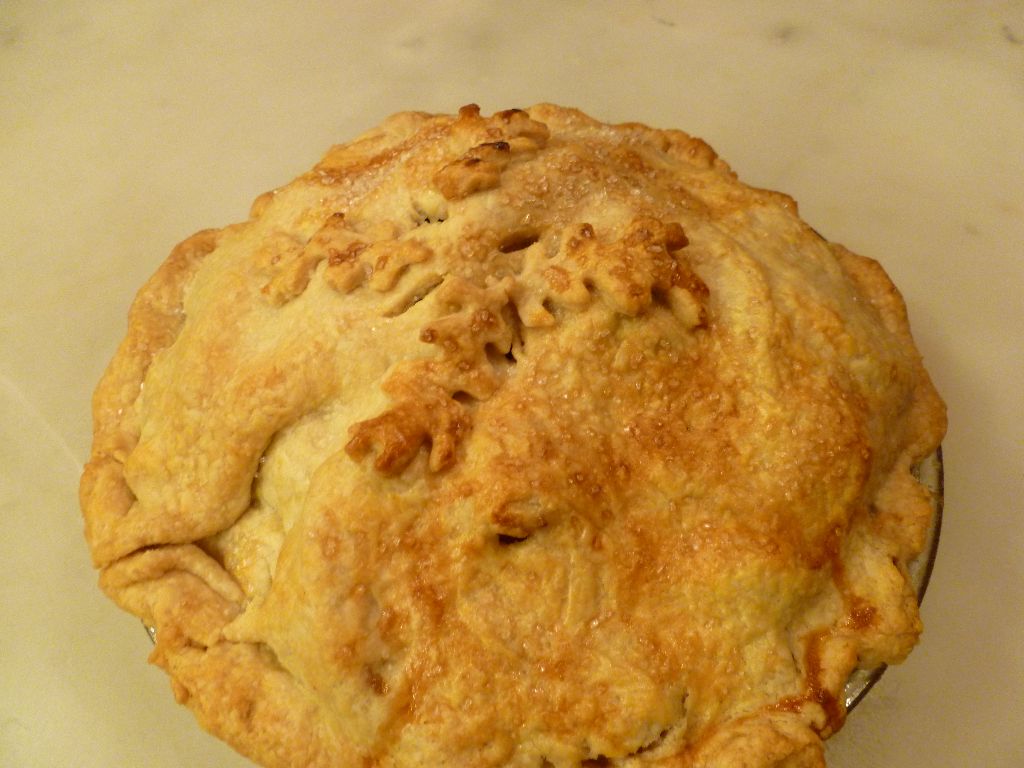
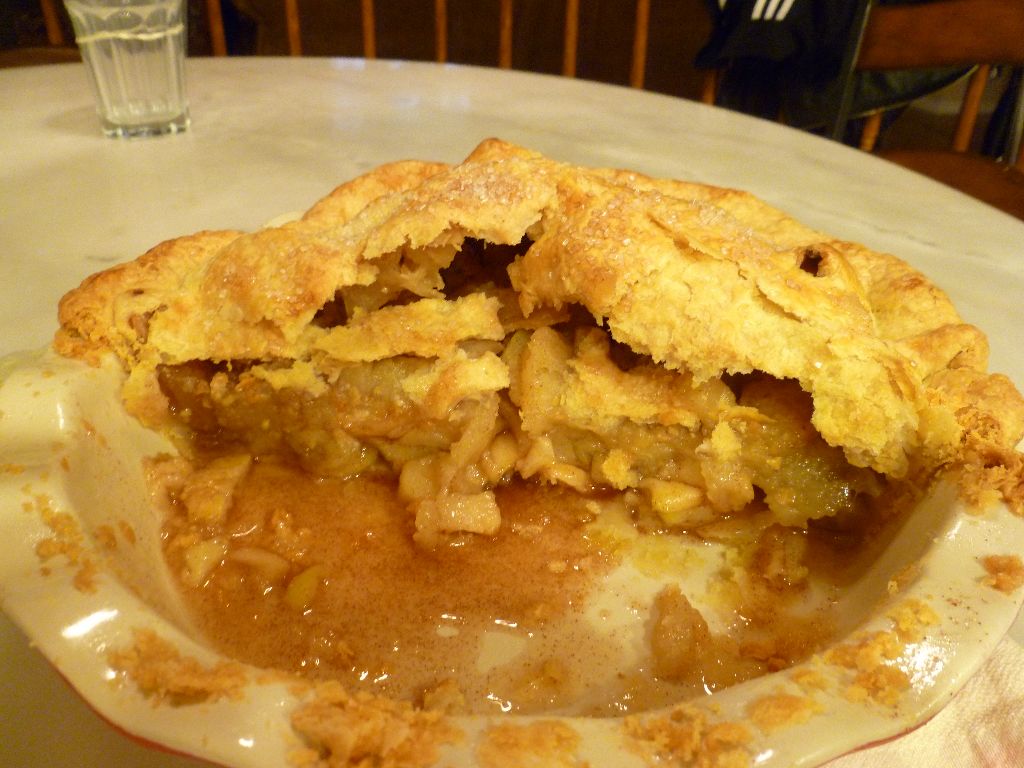
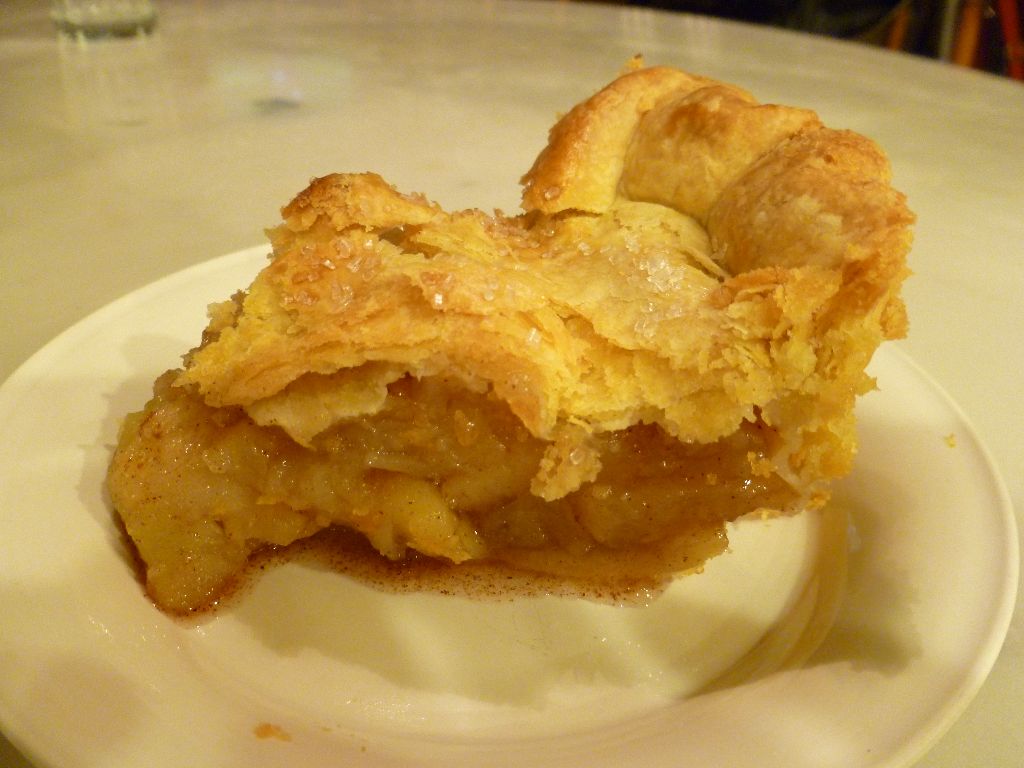
Bake at 425º for 15 minutes and then turn down to 350º for the remaining time. I will check after 50 minutes. Let cool on a wire rack. If you cut it when it is too warm, the juice will not have time to thicken into it’s syrupy deliciousness.
Recipe:
Bake at 425º for 15 minutes and then turn down to 350ºfor an additional 50 minutes
Flaky Pie Crust
2 1/4 cups all purpose flour
1 tablespoon sugar
1/4 teaspoon kosher salt
16 tablespoons unsalted butter (cold)
6 tablespoons cold water
Filling:
8 medium apples – I like a combo of tart (granny smith) and sweet (golden delicious) and macintosh (because it is my favorite apple) for taste and texture
3/4 cup plus one teaspoon sugar
1/8 teaspoon allspice
2 tablespoons tapioca flour
1 egg white and 1 tablespoon cream for an egg wash